Car Details
- Image 1

- Image 2

- Images
No Entries
- MPN
- SA305
- Brand
- Spark
- Comments
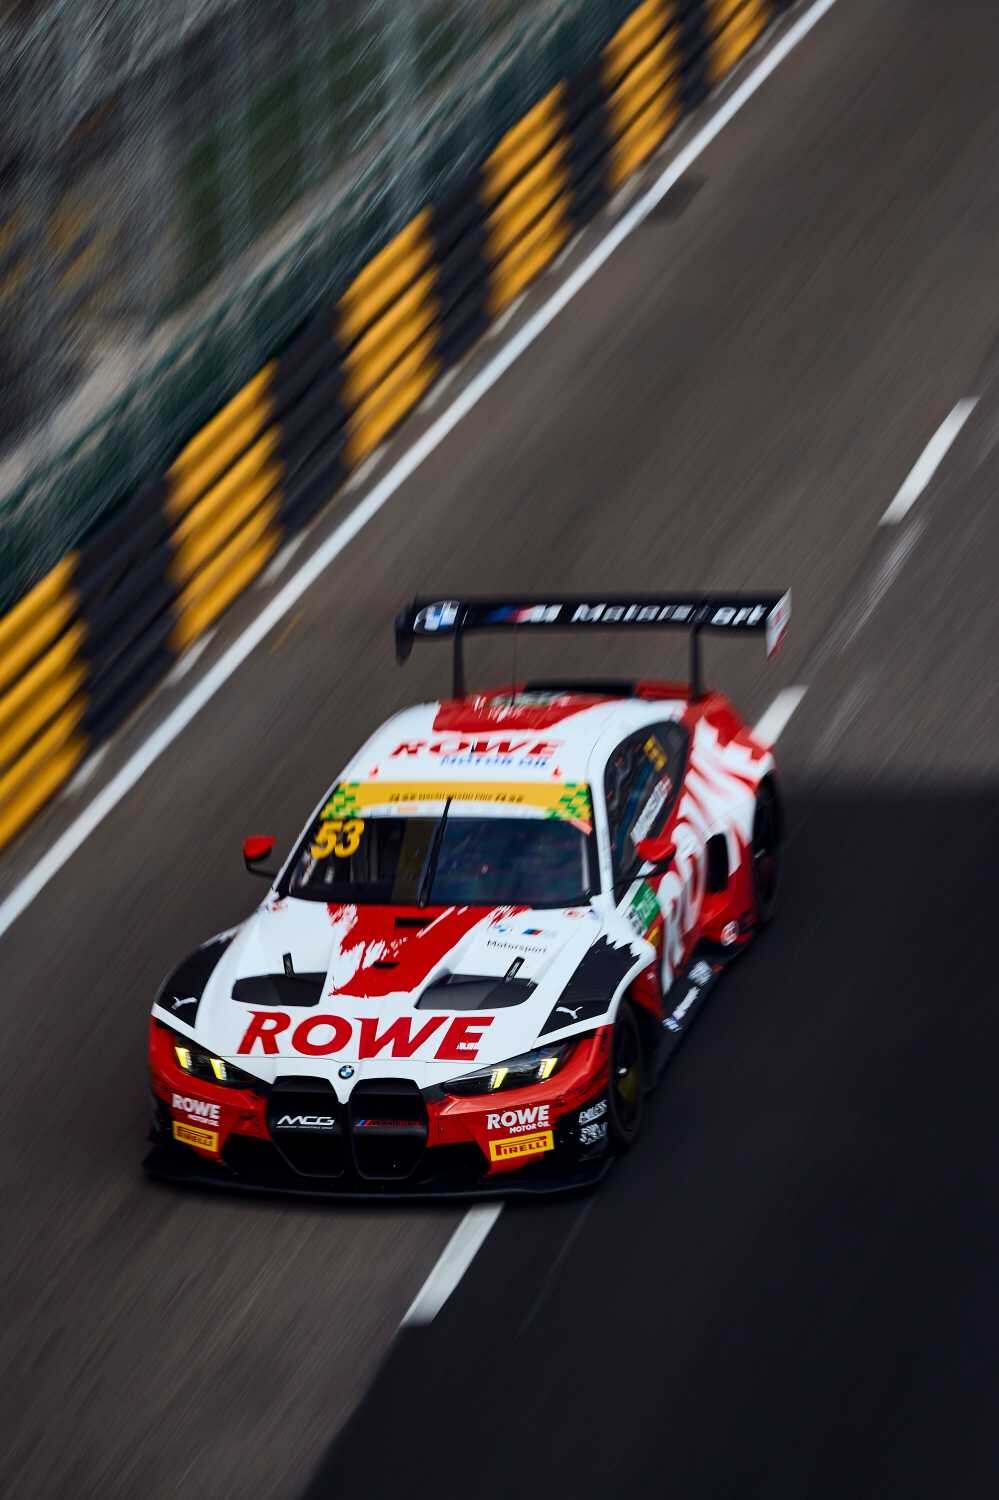
- This is the BMW M4 GT3 (Evo) No.53 2nd Macau GT Cup – FIA GT World Cup 2025 Raffaele Marciello in 1:43 scale by Spark. The BMW M4 GT3 (Evo) #53 driven by Raffaele Marciello competed in the Macau GT Cup – FIA GT World Cup for ROWE Racing, finishing an impressive second place on the tight street circuit of the Guia Circuit. Marciello—often nicknamed “Lello”—is a highly accomplished GT driver who has won major titles in GT World Challenge and has raced internationally for Mercedes and BMW factory programs. At Macau he started further back on the grid but made an excellent launch and overtook several rivals in the opening corners to secure a podium finish behind the winning Ferrari. What makes this race unique is the Guia Circuit itself, a narrow street track with little room for mistakes where overtaking opportunities are rare and qualifying is crucial. The BMW M4 GT3 Evo stood out for its strong top-speed performance and stability under braking, which helped Marciello gain positions early and defend his place against other GT3 machines like the Porsche 911 GT3 R and Ferrari 296 GT3. The combination of a powerful twin-turbo inline-six engine, advanced aerodynamics, and the intense street-circuit atmosphere makes the Macau GT World Cup one of the most dramatic single-race showdowns in international GT racing.Spark models are hand painted, decorated and assembled. Each model is created using a variety of production processes, such as hand cast resin, diecast and injected molded thermoplastics.Photo etched parts, die-cutting, tampo printing and waterslide decals are also used. Spark ensures the absolute best quality possible. Each model comes with its own acrylic display case.
- MSRP
- 109.95
- Scale
- 1:43
- Model Year
- 2025
- Automaker
- BMW
- Model
- BMW M4 GT3 (Evo) No.53 2nd Macau GT Cup - FIA GT World Cup 2025 Raffaele Marciello
- Color
- Ltd Ed
- Date Issued
- Series
- Link to buy
- www.legacydiecast.com/product_info.php?products_id=34963&product_configuration_id=1000034906
- Image 3
- Image 4
- Image 5
- Image 6
- Image 7
- Image 8
- Review
- Video